How to run Azure DevOps self-hosted agents effectively
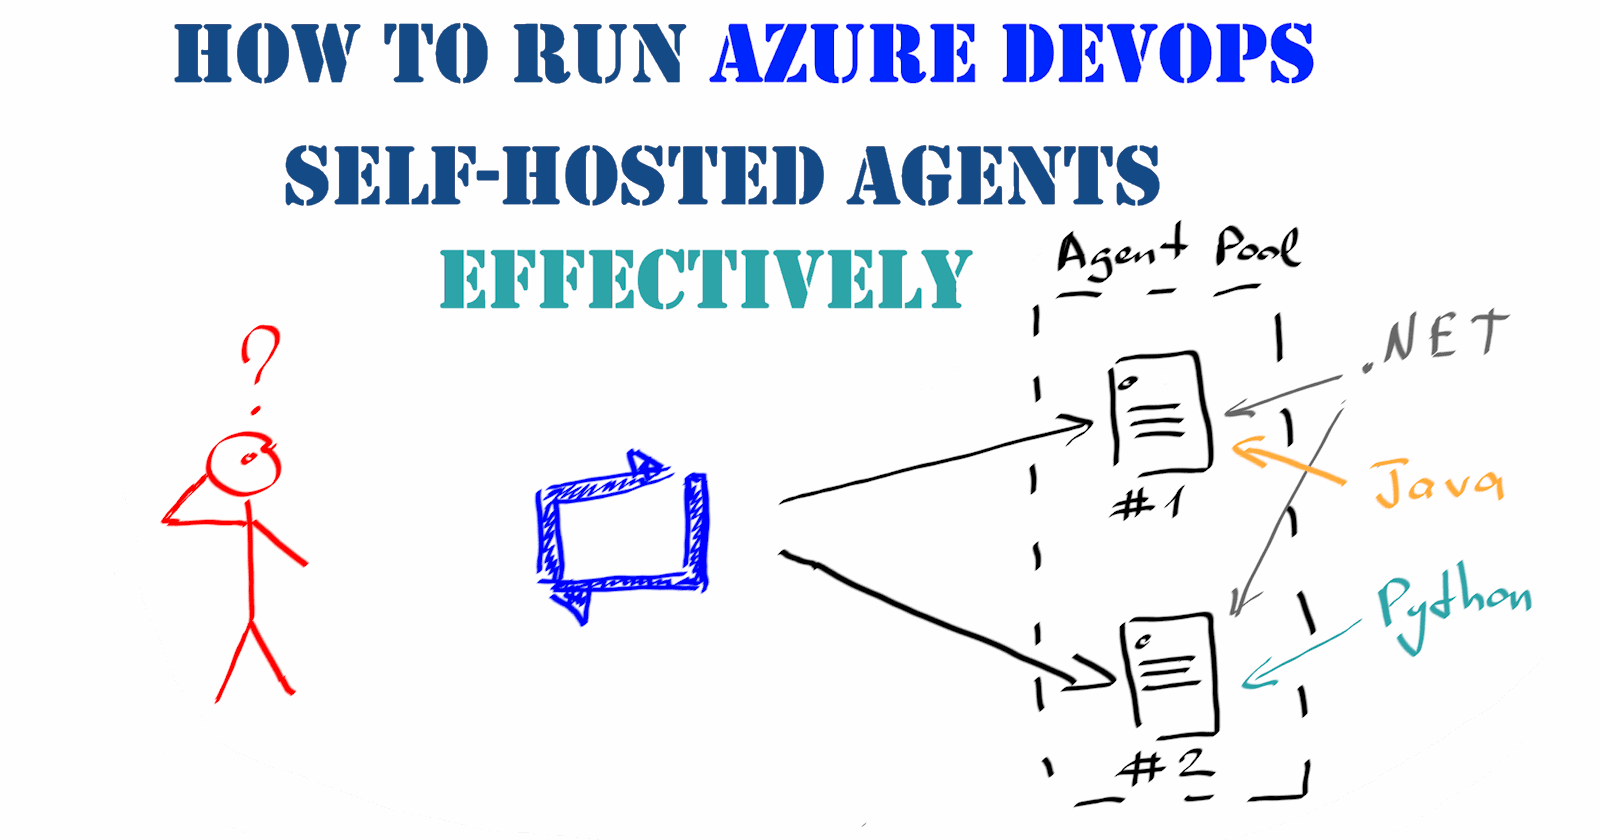
Many organizations prefer to use self-hosted Azure Pipelines agents exclusively instead of Microsoft-hosted ones or combine both types of agents. Typical reasons for such a situation are that with self-hosted agents, you can:
have better control over your agents, i.e., can install specific software needed for your build or deployment process;
deploy your builds to on-premises environments that are not accessible externally;
and, of course, save some money (not a huge deal, but why pay extra if you already have invested in on-premise resources).
However, using the self-hosted agent also has some drawbacks:
You should take care of the servers running the agents – basically, to keep them operational.
You are now responsible for configuring and maintaining the proper configuration of those machines—installing build tools, updating them, ensuring that all build servers in an agent pool preferably have an identical configuration, etc.
If keeping on-premise build servers alive is usually the responsibility of the IT Operations team, then the developers generally configure tools, libraries and additional software on them.
Usually, such configuration is performed manually and only during the initial server setup. Sometime later, you can find yourself with a bunch of build servers with different tools and different software versions installed on them. Developers start requesting to install new tools on the servers or demand that they have the most up-to-date version of software installed, e.g., the latest .NET Framework of Java Development Kit update.
These requests usually go to a person responsible for the Azure DevOps infrastructure. If you are that kind of person, it is time to ask yourself a question: How can I optimize the maintenance of self-hosted build agents so as not to bother myself each time a new version of the software is released?
Let’s answer this question step by step.
First: Manage your build servers with code
The concept of having your infrastructure configuration defined with code (IaC) is not new, but organizations’ adoption of this concept is relatively slow compared, for example, to the adoption of continuous integration.
Build servers, which host Azure Pipelines agents, are also part of your infrastructure. They can and should be configured with code. You can use whatever configuration tool you prefer. Still, the primary idea is to be able to configure your infrastructure automatically and consistently so that you get the same system configuration on each deployment.
For example, I decided to use PowerShell Desired State Configuration (DSC) because it is a management platform based on PowerShell, which is widely used to manage Microsoft infrastructure. It also allows me to use my existing PowerShell skills.
So, a sample DSC configuration might look like the following:
First, you import the DSC resources you will use in your configuration; then, you can specify some variables, for example, a default download location and the configuration for your servers – nodes in DSC terminology. I’m not going to explain how PowerShell DSC works in detail here – there are plenty of resources and official documentation on that. However, the critical point is that this configuration is declarative: you specify what you want to be present and not how it should be done – the underlying mechanics of DSC resources will take care of that.
Of course, PowerShell DSC doesn’t forbid you from defining your configuration imperatively, for example, with a Script resource and doing some familiar PowerShell scripting. However, I would recommend against this approach because it usually requires more complex logic, additional error handling, testing and maintenance to achieve the same result as with the declarative specification.
In my sample configuration, I use the xRemoteFile and xPackage DSC resources from the xPSDesiredStateConfiguration PowerShell module to ensure that a file from a remote location is present on a server and that the software that depends on this file stored locally is installed on it. As you might have noticed, I haven’t programmed any installation or verification logic that the software was installed successfully. I just declared what I want. However, when you need to install dozens of build tools and libraries on a server, it might become tedious to encode the “downloads” of individual files and “installations” of software from them. So, what to do with that?
Second: Use a package manager
A package manager is a software tool that helps to install, upgrade, configure, and remove programs consistently. Package managers are more widely used on Unix-like operational systems, but there are also a few good options for Windows. One of them is Chocolatey.
What makes Chocolatey an essential component in our case is that it has a DSC resource module that can bring all the power of package management into your configuration. Instead of playing with downloads and installations, you can do the following:
When you have lots of packages to install, you can utilize an even more elegant approach – use loops and put the list of packages into an external parameter file:
You might also notice that, in the configuration data, I don’t have a Visual Studio package on the list. You don’t usually need an IDE on a build server. Installing only Visual Studio Build Tools is enough to satisfy building capabilities for Azure DevOps agents and doesn’t require a license.
When your configuration is tested and ready, it is time to apply it to the build servers.
Third: Automate the process
Of course, you can use the ‘Start-DscConfiguration’ cmdlet and apply your configuration to nodes, but then it is up to you to periodically verify the actual configuration on the nodes, gather this information from them and process non-compliant servers. Sounds not cool, right?
Instead, you can configure your own DSC Pull Server to centrally manage and assign your configuration or better use Azure Automation DSC service. With the latter one, you don’t have to worry about supporting infrastructure – you can connect your on-premise servers to Azure Automation DSC, upload your configurations, check that required modules are imported into your automation account, compile the configurations and assign them to the nodes. That’s it.
Now you can always visually verify the actual configuration state of your nodes on the portal or configure the alert to trigger if a non-compliant node is detected:

If you upload an updated version of your configuration, e.g., add a new version of .NET Framework, and compile it, it will be automatically applied to the respective nodes.
A missing part
There is also a DSC resource for managing both Visual Studio Team Services and Azure DevOps agents. Unfortunately, I had to exclude the deployment of the agent from my DSC configuration as Azure DevOps supports authentication only via PAT, which is not a feasible option for a permanent automation solution as the tokens have an expiration time.
The good part is that you don’t need to worry too much about maintaining Azure DevOps agents because, once installed, they automatically update themselves when they run a task requiring a newer version.
That’s all for today.
How do you manage your on-premise build servers? Share your experience and thoughts on this matter in the comments!