How to deploy Azure Policy with Bicep
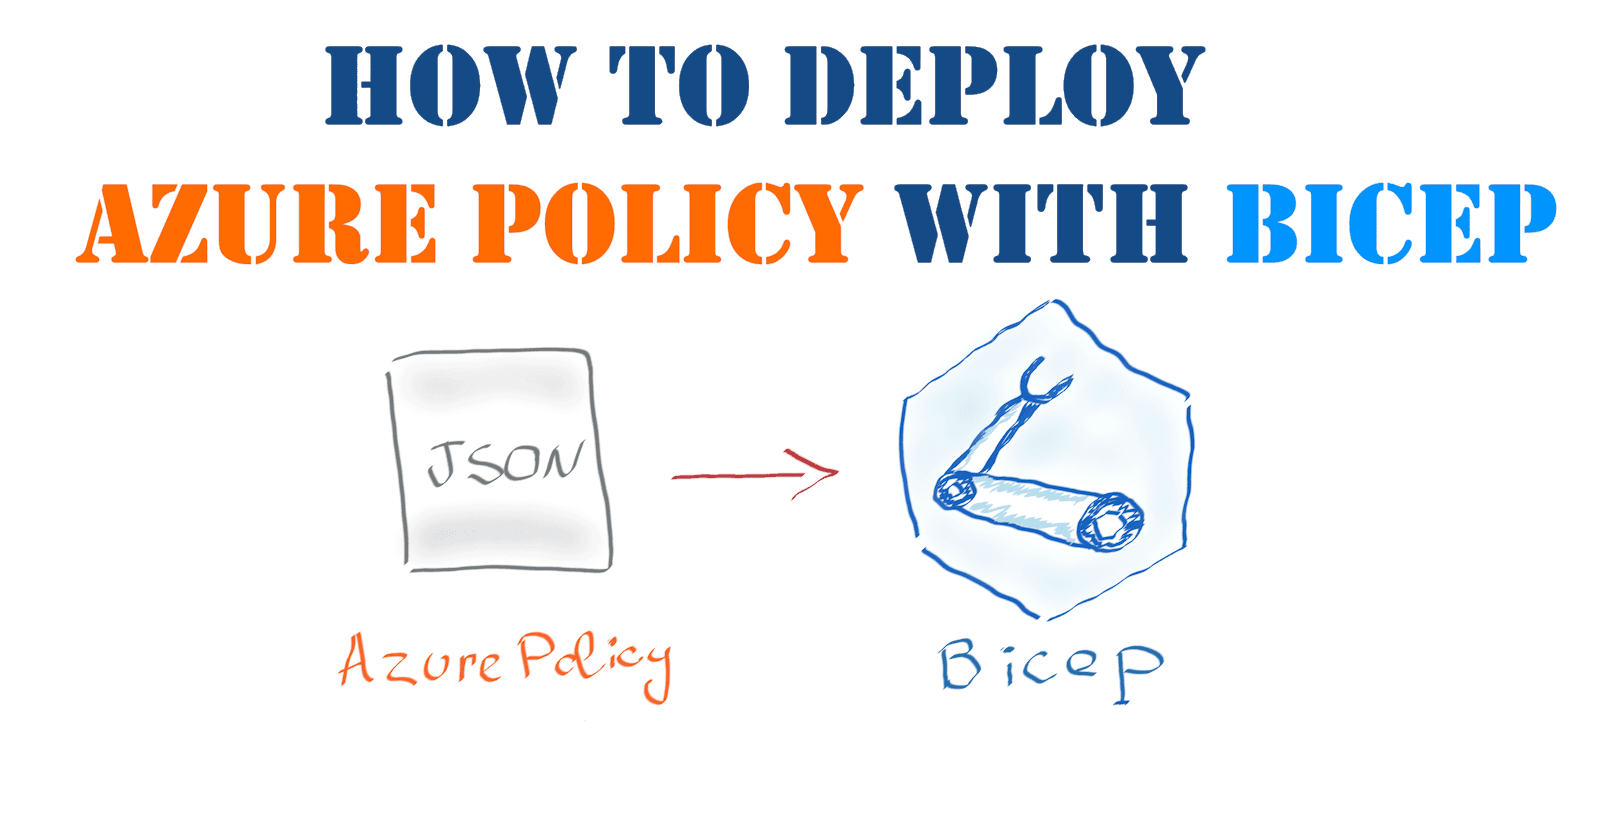
It has been a while since I last wrote about Azure Policy, and recently, there was a lot of hype around Bicep, so I decided to give it a try and shed some light on creating and deploying custom Azure policies with that new language.
Prerequisites
I assume that you are already familiar with Azure Policy and how it works. If you are new to that really helpful and often underrated technology, I suggest checking out my Azure Policy Starter Guide.
Also, I recommend that you read through the official Bicep documentation to get a sense of this new domain-specific language, which Microsoft promotes as an abstraction over ARM templates and Azure Resource Manager.
Bicep basics for Azure Policy
Like JSON-based ARM templates, Bicep is a declarative language that allows you to define the desired Azure resource configuration and let the Azure Resource Manager provision it. Initially, you had to compile a Bicep file into a regular ARM template to deploy your configuration. However, this is not the case anymore, as both Azure CLI and Azure PowerShell now support deploying Bicep definitions. Note that input parameters for Bicep definitions still come in the same format as for old-school ARM templates.
Apart from that, as we work with the same Azure service, you should expect that all Azure Policy specifics are applicable regardless of the language you use to define your configurations. So, all the tips and tricks you learned about creating, deploying and evaluating Azure Policy are still relevant.
Speaking of Bicep, you can define a single policy and a policy initiative, aka policy set, along with their assignment to a specific scope using the Bicep resource primitive. For example, to create a custom Azure Policy, you can define the following resource in your Bicep file:
As you might notice from that sample, for some policy-specific syntax to be valid, you should use backslash as an escape character for single quotation marks. Also, you shouldn’t use an additional forward square bracket in the expressions, as it will be automatically added to the JSON during the Bicep build.
In the same manner, you can define your custom policy initiative:
Policy initiatives don’t define any rules, so they use the ‘policyDefinitions’ keyword to reference existing policy definitions.
Policy and policy initiative assignments are also pretty straightforward and defined as yet another resource:
For complete definitions, look into the bicep samples in my Azure Policy repository on GitHub. The Bicep product team and the community regularly update and create new sample Bicep definitions for various Azure services, including Azure Policy, so I suggest checking them for additional cases.
Advanced technics
Now, when the basics are clear, let’s look into more advanced topics.
First of all, remember that you can only deploy your custom Azure policy definitions at the subscription and management group levels. At the same time, Azure Policy assignments can be created at the management group, subscription, and resource group levels. Also, keep in mind that the deployment scope of a policy, in turn, effectively limits its assignment scope.
The Bicep VS Code extension will warn you about the resources that cannot be deployed to the target scope, and the Bicep compiler will produce the compilation error.
Regarding Bicep definitions, you can scope your deployments by using the ‘targetScope’ keyword. Depending on that scope, a bicep file will be compiled into an ARM template using the corresponding deployment schema.
Using different deployment scopes will also impact how you reference other resources in your configuration. Using standard syntax like ‘resourceSymbolicName.Id’ should be enough if a new resource is defined in the same Bicep file. However, when you need to reference an existing resource, e.g., a policy definition in policy initiative, first, you should correctly define that resource in your Bicep file, and second, you should use the correct reference function:
for Azure Policy definitions deployed at the subscription level, use the ‘subscriptionResourceId’ function;
for Azure Policy definitions deployed at the management group level, use the ‘extensionResourceId’ function as custom policy definitions are implemented as resource extensions.
If you want to assign your policy at the tenant level, you should use the Tenant Root Group for that.
For example, to reference your existing policy definition deployed at the subscription level in a policy initiative, you can define it as the following:
Same referencing but at the management group level can be accomplished with the following syntax:
I don’t cover the Azure Policy exemptions feature here as it’s currently in preview and might change in the future.
Current drawbacks
Unfortunately, authoring Azure Policies with Bicep is still far from ideal. So, here are a few things that annoyed me, not specifically related to Azure Policy but rather Bicep language-generic features or their absence.
As I already mentioned, referencing policies from policy initiatives is a bit complicated and non-intuitive, as you must be explicit about your reference scopes and always keep that nuance in mind. On a larger scale, when you have dozens of definitions that are defined in separate files and need to be deployed and assigned at different scopes, the new authoring experience is quite painful.
The next thing that adds up to the negative authoring and debugging experience is the lack of IntelliSense support for Azure Policy internal logic defined in Bicep files. Moreover, the syntax highlighting for Bicep-defined Azure Policy rules in VS Code is also very limited. Apart from that, I was also unpleasantly surprised that, in contrast to the ARM template authoring experience, Bicep will not warn you about unused parameters or variables you have in your files.
Lastly, the way you currently define human-readable names and descriptions for policy parameters using the Bicep parameter decorators looks a bit awkward to me:
Why not provide the same simplified syntax for the ‘name’ metadata tag for the ‘description’?
Fortunately, the Bicep product team is progressing well in implementing new features and providing the community with simpler and better options for defining Azure infrastructure as code. I’m impatiently looking forward to new Bicep releases.
If you are writing lots of ARM templates and haven’t tried Bicep yet, I recommend you do so and post your impressions in the comments below!