
Automation is often considered to be a holy grail of technical DevOps practices: build automation, test automation, deployment automation, automation of infrastructure provisioning – all these aspects of DevOps methodology promote the elimination of manual labor on different stages of application development. PowerShell as a technology, and as a scripting language, has a close association with automation, and become a de facto standard for implementing automation scenarios on Windows platform and, with the transition of PowerShell to the .NET Core framework, it is also gaining popularity in Linux world. Overall, PowerShell is a really powerful tool in experienced hands.
Unfortunately, despite the wide usage of PowerShell by DevOps practitioners, most automation solutions I come across in organizations are implemented in a quick & dirty way: no modularization, long scripts with hundreds of lines of messy code, no versioning, testing, documentation, etc. It is a paradox that automation with PowerShell, as a cornerstone for many other DevOps practices, is often itself completely ignores the practices DevOps encourages to use. Doesn’t it seem contradictory that automation engineers (I prefer to avoid the term ‘DevOps engineer’ as misleading) who should promote the usage of DevOps practices in an organization don’t follow those principles in their own work?
No wonder that in such cases, these engineers might find it hard to convince their teammates to “implement DevOps.” I believe that the best way to persuade somebody in your righteousness is to lead by example. So, let’s make a short overview of some common DevOps practices and how you can implement them in your PowerShell scripting.
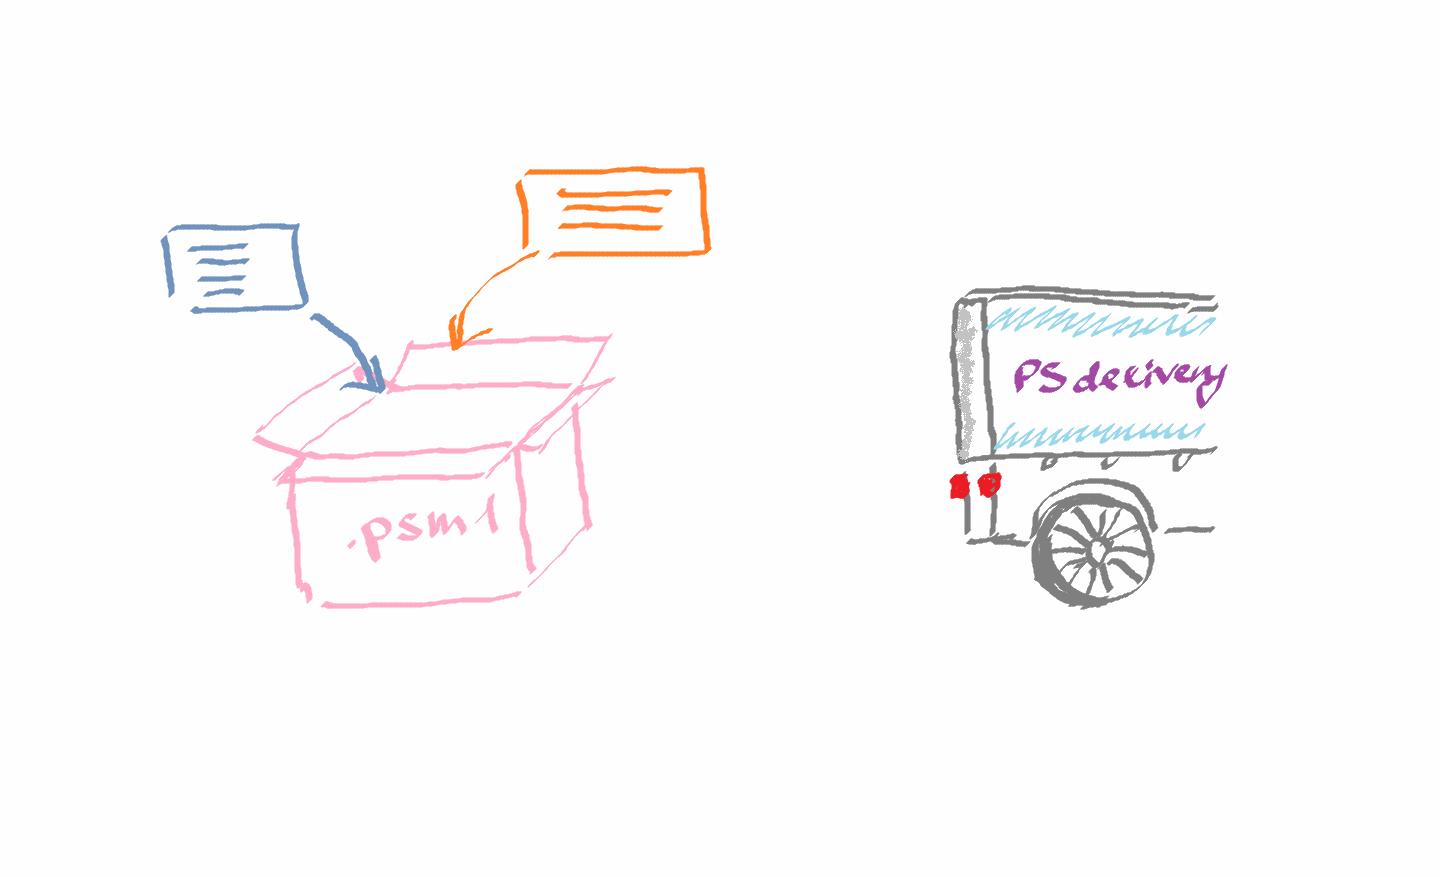
Version control
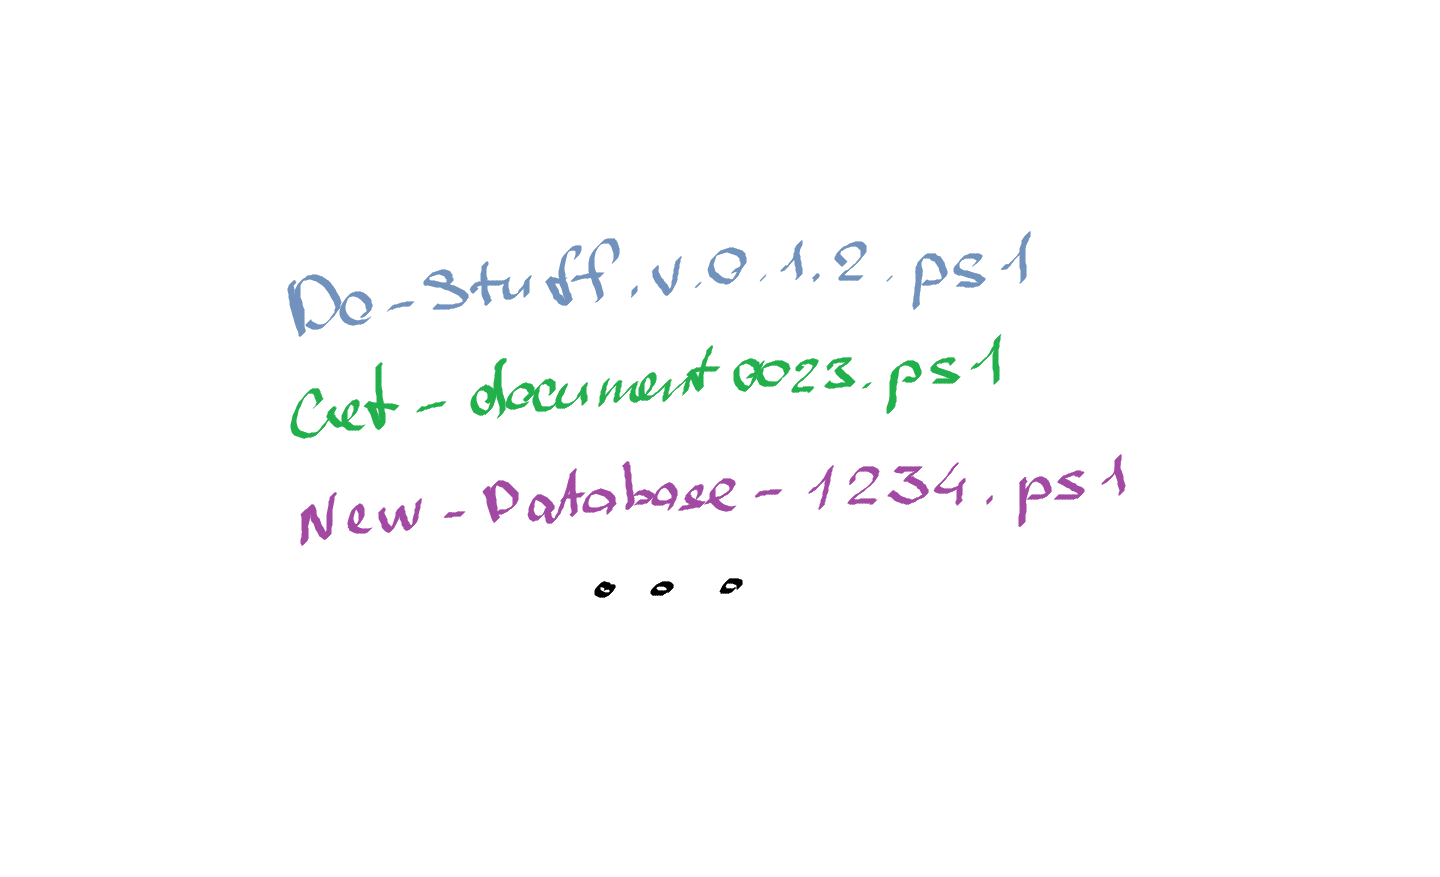
The most common PowerShell automation solutions regular engineers work with are scripts and script modules. From the technical point of view, they are plain text files with ‘ps1’ and ‘psm1’ extensions that can be tracked for changes as any other source code with Git, for example. You can commit your changes, keep their history, create branches for feature development and literally do all the stuff that developers would do with a code in a source control repository.
With more advanced automation scenarios, you might find yourself creating custom PowerShell modules, creating your own toolkits and writing Azure Automation runbooks. The codebase of your initial automation add-on might become a separate project on its own with its development guidelines. Depending on your requirements, you can implement different branching strategies, use branch policies, adopt working with pull requests to merge changes in a master branch and so on. Such managed source control solutions as Azure Repos or GitHub will work for you just fine.
Some might argue that if you are the only author of that code and used it only once or twice, there is no reason to bother yourself with version control. However, I doubt that you know for sure who else will be using this script in the future or how it will be evolving. Tomorrow you will also hardly remember all the changes you made to the code half a year ago. Even if it is a tiny one-liner script for a small task, it is always better to have it version-controlled than not.
Test automation
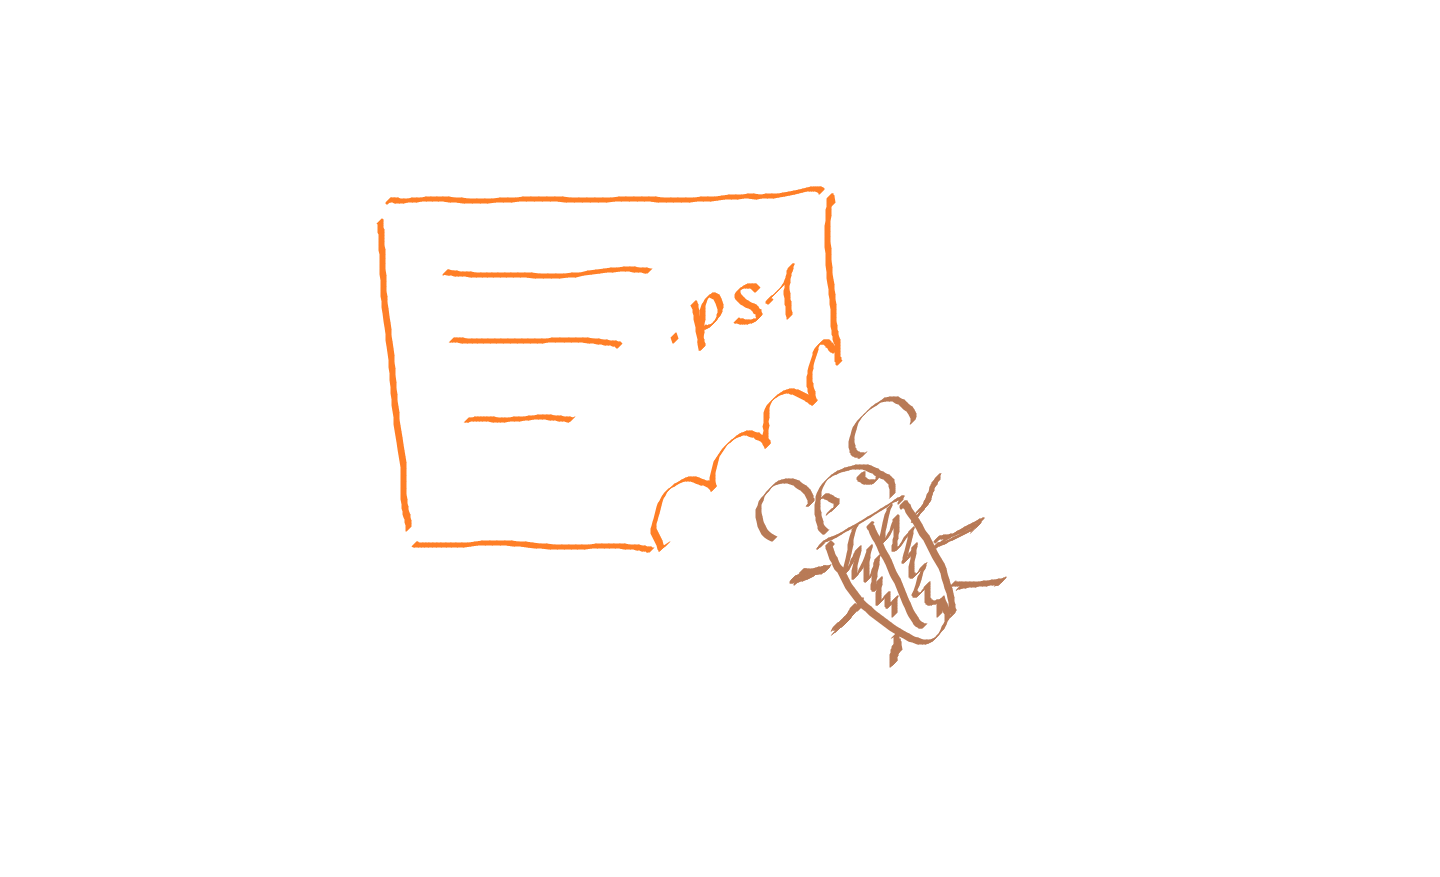
To my surprise, I still encounter software development projects where the developers don’t use test automation and solely rely on manual checklists. The arguments they use against writing tests for their code range from hilarious, “we write code without bugs,” to completely silly, “writing tests is a waste of time.” So, if you want to demonstrate those people why it’s essential to test your code before shipping it in production, you had better start testing your own PowerShell stuff.
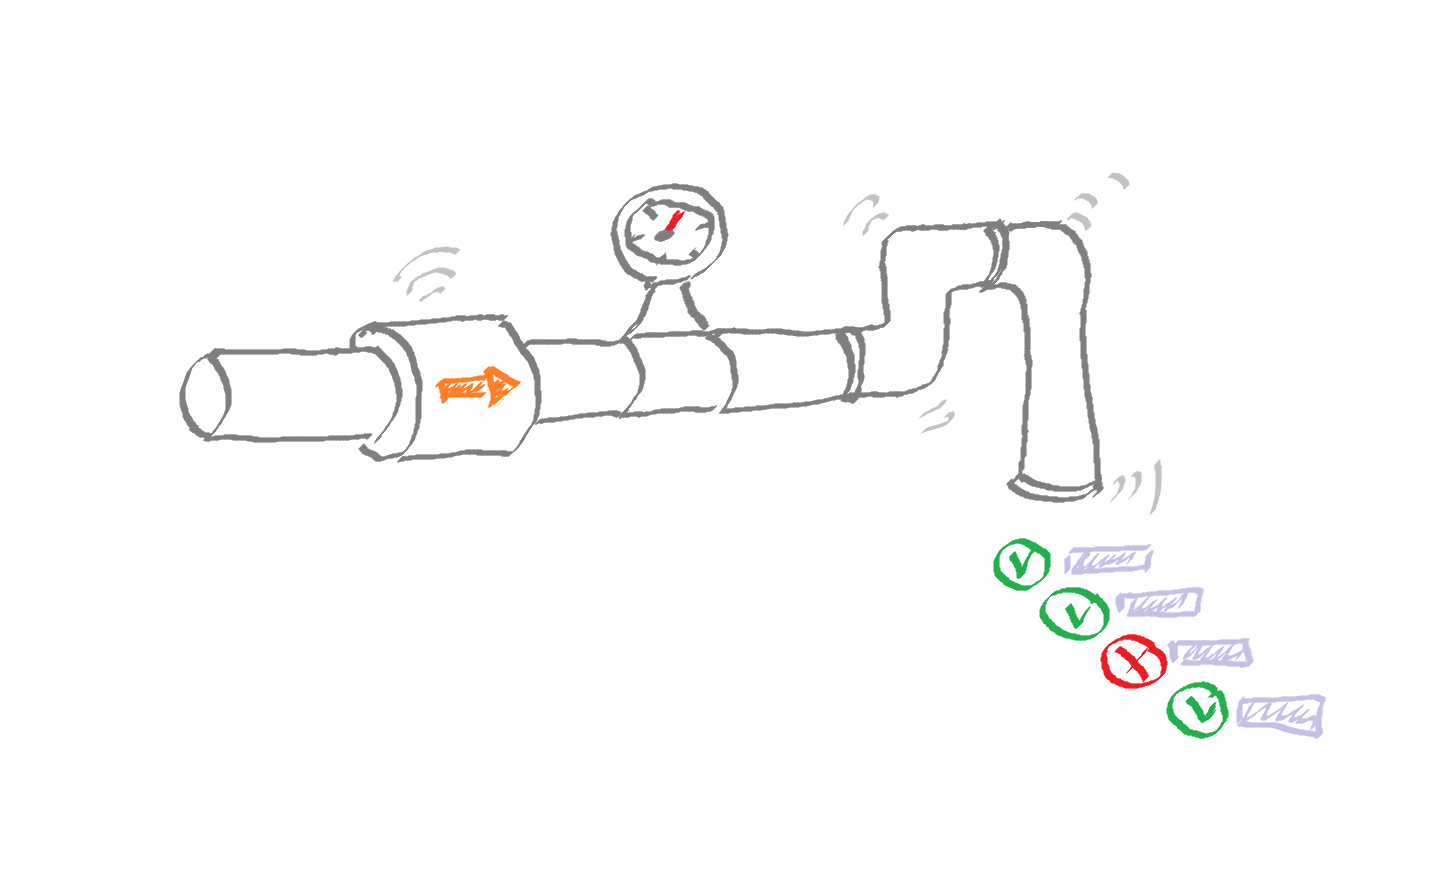
For example, the PowerShell team itself maintains an extensive set of tests to verify their codebase. To create those tests, they mostly use Pester - the most known and widely used mocking and test framework for PowerShell. With Pester, you can implement unit, integration, acceptance and infrastructure testing and even describe your business test cases in Gherkin.
Alongside with testing your PowerShell code, Pester can also help you to understand how much of your code is covered by tests, i.e., perform a code coverage analysis, so you can see what commands weren’t executed during the test runs. Having these results in hand, it is possible to implement quality gates in your build process so that build will automatically fail if the overall code coverage percentage drops below a certain acceptable level.
The results of test executions and code coverage analysis can be saved to files and published as pipeline artifacts in your CI tool. For example, in Azure Pipelines, you can use the Publish Test Results task to publish Pester output for test results in NUnit format and the Publish Code Coverage Results task for Pester code coverage results in JoCoCo format.
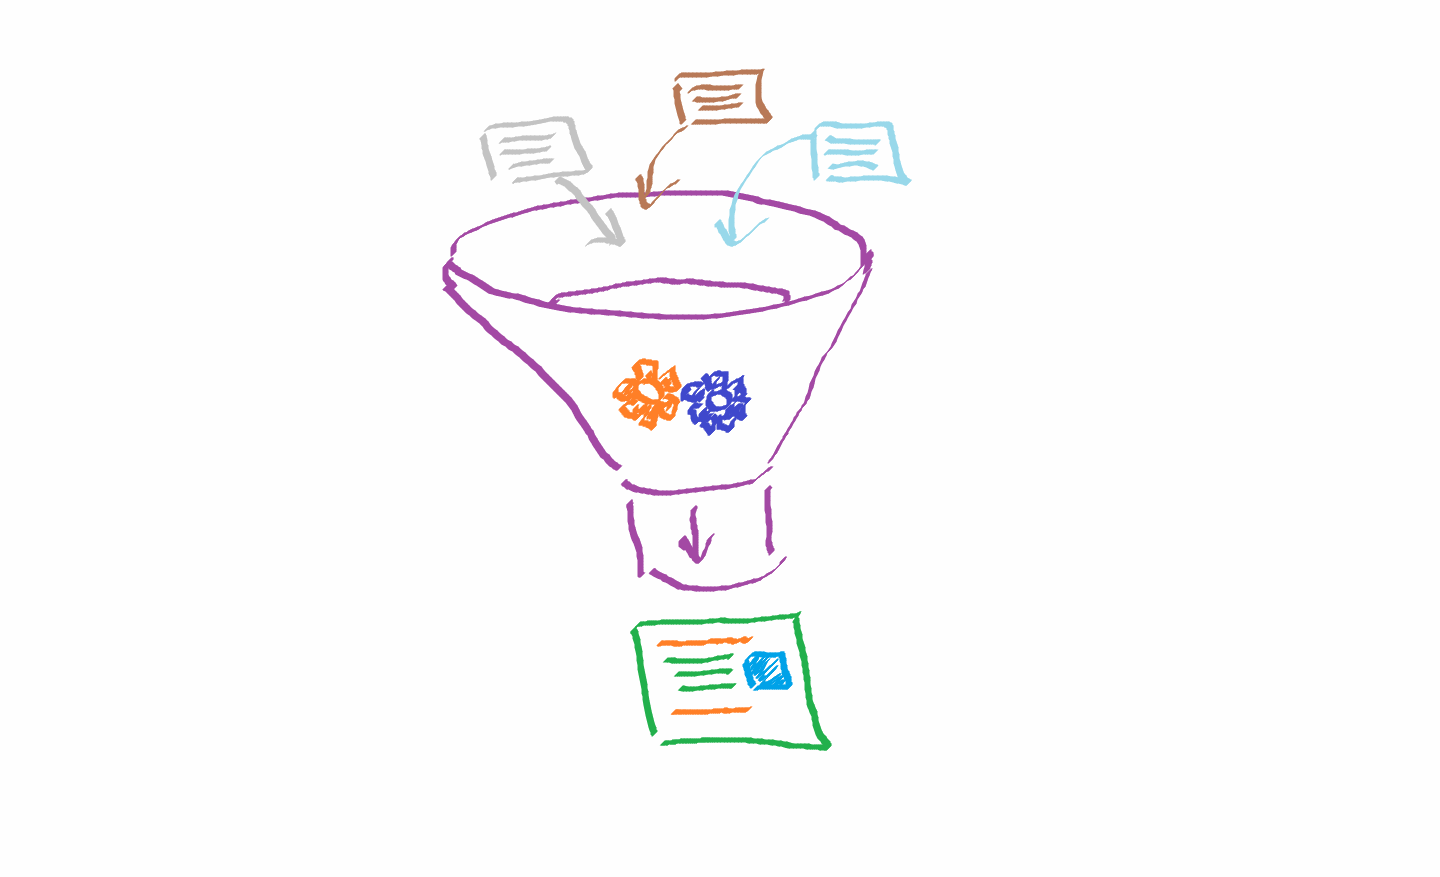
Code quality analysis
Following defined coding standards in your software project lays the foundation for readable and maintainable code. Such tools as static code analyzers can help you to enforce specific coding rules, track code complexity, verify your code for possible logical and security issues, avoid common pitfalls and encourage you to use best coding practices for the programming language of your choice.
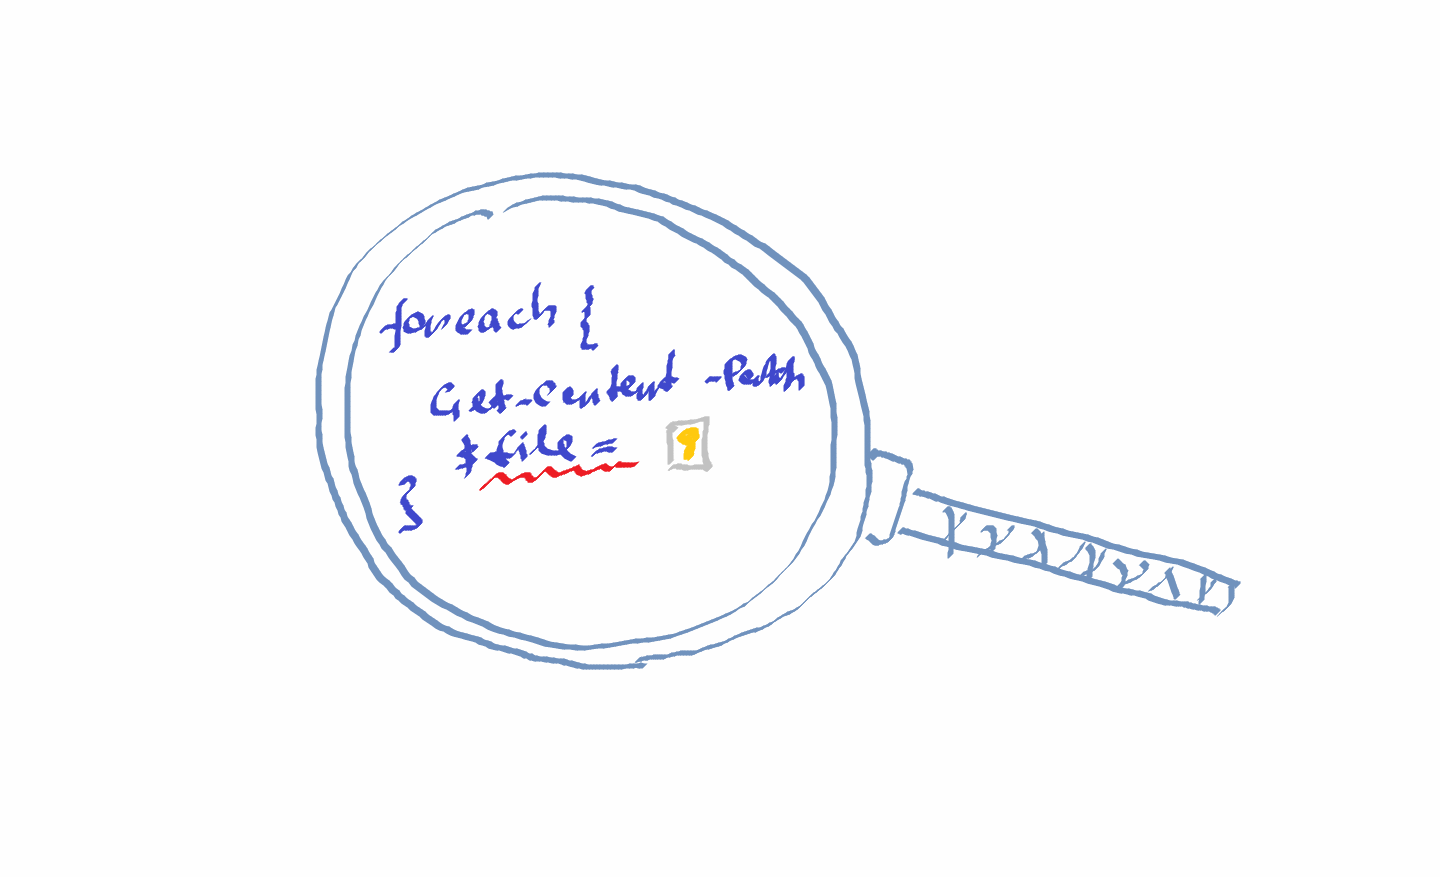
In the PowerShell world, PSScriptAnalyzer is definitely should be your friend in terms of code hygiene. In addition to the built-in set of verification rules, it also allows you to create and use custom rules. You might be unaware, but even Visual Studio Code with its PowerShell extensions uses PSScriptAnalyzer in the background to analyze your PowerShell scripts.
As PSScriptAnalyzer itself doesn’t support outputting results in standard test framework formats, it is a common practice to wrap it into Pester tests to get formatted results that can be published in a build pipeline. For example, I prefer to create a separate Pester test at the project-level to verify all PowerShell script and module definitions in my project against PSScriptAnalyzer rules.
Build automation
Even if your automation solution consists only from one PowerShell script, it is much better to get it tested and verified after each change in its source code than just running that script in production and discovering that it deleted some critical data or rebooted wrong servers. When your project has a few PowerShell modules with dozens of functions, the manual overhead for running individual tests, assembling the modules, versioning them, generating documentation, etc., growths tenfold.
The automation of the build process is probably one of the earliest practices in software development – you know, programmers are lazy folks, and they get bored with repetitive tasks very soon. So, when creating your PowerShell projects, you also might want to consider automating some build tasks.
Instead of writing your custom build scripts, look at such tools as InvokeBuild or psake that can help you to automate the individual steps of your build process, define dependencies and build your solution with one command invocation.
Package management
As you might already know, in PowerShell, you can pack your custom scripts in modules to make them distributable. The core idea of PowerShell is to enable you to create reusable tools that can be used in the pipeline independently of the context. However, when creating your scripts of functions, it is highly likely that you want to utilize existing cmdlets so that to not reinvent the wheel. Doing so, you inevitably introduce dependency in your code from external modules that might be not shipped by default with PowerShell installation.
When developing locally, it might not be a big deal to manually install those modules and other dependencies once and run the builds. When using a build service, such as Azure Pipelines, for example, your build process will be run on a build agent that might be different on each run, especially in case of using hosted agents. So, how can we define the dependencies for our PowerShell project and make them present in a build environment? The answer is simple – use a package manager.
The idea of automation package management is not new, and almost any operating and programming environment has some kind of a package management tool like NPM for Node.js or RPM for many Linux-based distributions. PowerShell, as a platform, also has a reach toolkit for working with packages, but sometimes it might be tedious to script all that commands in your build script. Instead, you can use PSDepend module and define project dependencies in a simple PowerShell data file. This will make your dependency management much cleaner and easier to maintain.
Documentation generation
Documentation is an essential part of every software or hardware solution. It helps other people to better and quicker understand the behavior of a system and what to expect from it. The idea of keeping your documentation close to code was beautifully implemented in PowerShell with comment-based help. It makes the process of writing and updating documentation for engineers more convenient comparing to keeping it in external files. On the contrary, reading that documentation in the source code or in a PowerShell console might not be so handy, particularly for non-PowerShell people, as browsing web-based documents. Keeping and updating documentation in a few places can bring more trouble than it is worth.
To overcome that challenge, you can automate the process of creating human-readable documentation from your code-based help with PlatyPS. This tool generates documentation in Markdown format so that it can be published on the web. You can also include it as a build step in your build script or pipeline and have your documentation always up to date. For example, Microsoft uses it to create help content for thousands of its cmdlets. So, learn it, use it and people working with your PowerShell solutions will be grateful for its high-quality documentation.
Continuous integration & Deployment automation
Conceptually, you can think of continuous integration as of evolution of the build automation process. When build automation is more of a helper for building your solution locally in some environment, continuous integration rises that bar and automatically tries to build and test the solution after each change (commit) to it.
It would be really strange if we couldn’t implement this one core practice in our PowerShell coding because PowerShell is no different from other programming languages in terms of creating CI pipelines for it. For instance, you can use Azure Pipelines to configure CI and CD processes for your PowerShell project that can be an individual script or a module. Azure Pipelines can run PowerShell tasks, which could be a script file in your repository or just an inline script in the task definition, on the build agents. Apart from that generic task, you can also execute your scripts directly in an Azure environment with the Azure PowerShell task.
For example, you can define the details of your build steps in a build script like tasks in InvokeBuild or psake, and invoke those specific tasks in your pipeline in a particular order: build, test, deploy, etc.
The same is true regarding deployment automation. Depending on your requirements and environment, you can copy the resulting scripts or modules to target servers, upload them to automation services such as Azure Automation accounts or publish them to some artifact repository for further consumption by other processes and people.
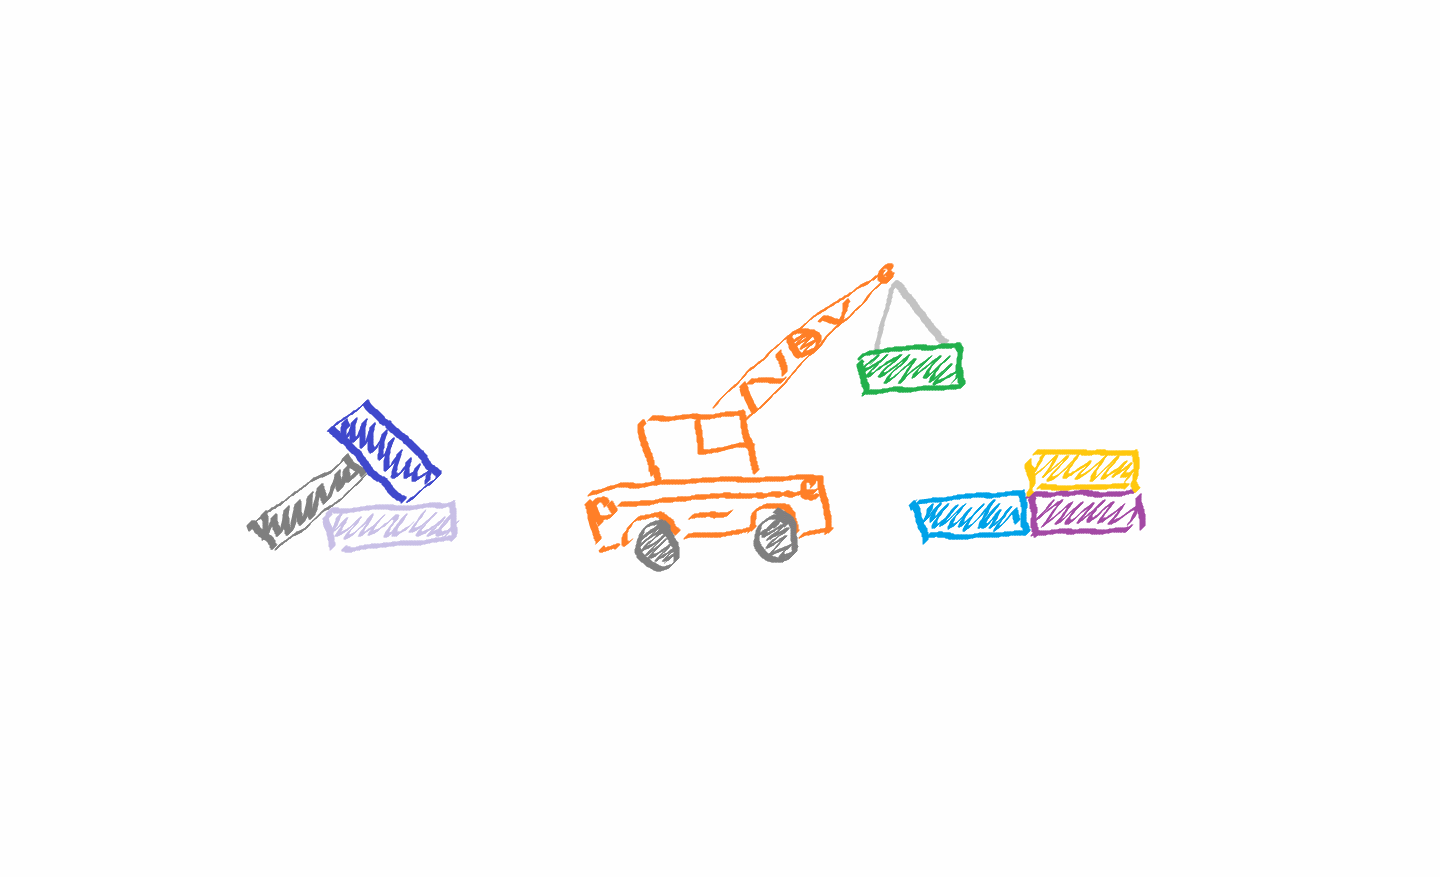
Artifact management
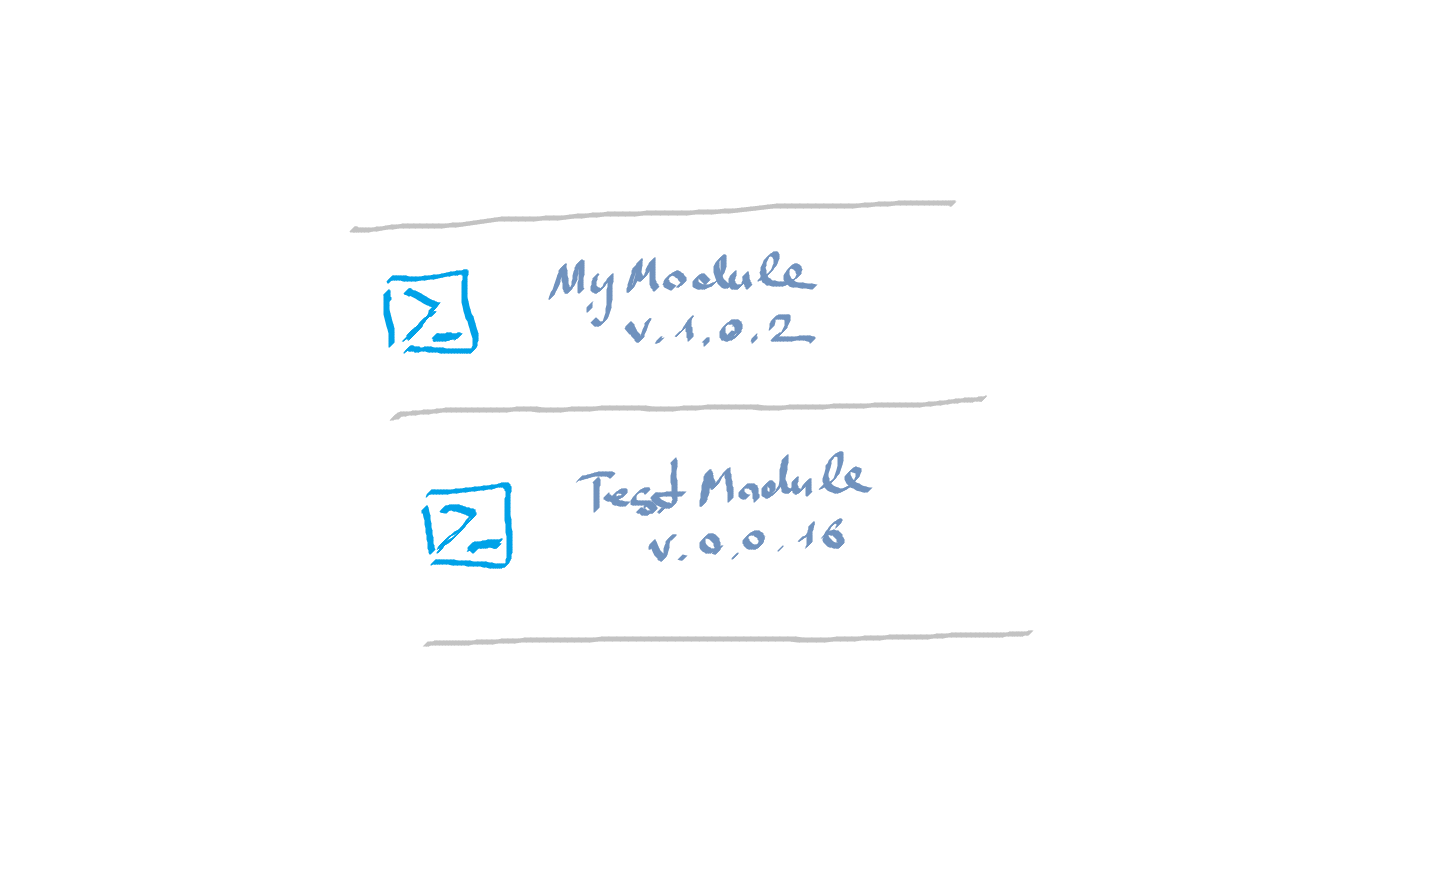
In more advanced automation scenarios, instead of putting all the logic in a single PowerShell script, you might want to make it more reusable and modular, i.e., create PowerShell modules so that individual functions can be reused as cmdlets in a control script(s) that implement business logic itself.
If you work with PowerShell long enough, it is highly likely that you are already using such an artifact repository as PowerShell Gallery. It hosts most of the PowerShell modules as well as individual scripts that you might need for your automation. Technically, that repository is just a NuGet feed that contains NuGet packages.
With Azure Artifacts, you can create your own private or public feed and publish the results of your build process as a reusable package. The NuGet task supports multiple options for working with NuGet packages so you can both create a package and publish it to an artifact’s feed, and basically create your own PowerShell repository.
As you can see now, when working with PowerShell automation solutions, you can and should embrace the same DevOps practices as any other software development project would use. Doing so, you will find it much easier to promote DevOps in your team and organization.
Keep learning, try new things, and I hope that after reading this, you will be able to look at your PowerShell scripting from a different angle!

Member discussion: